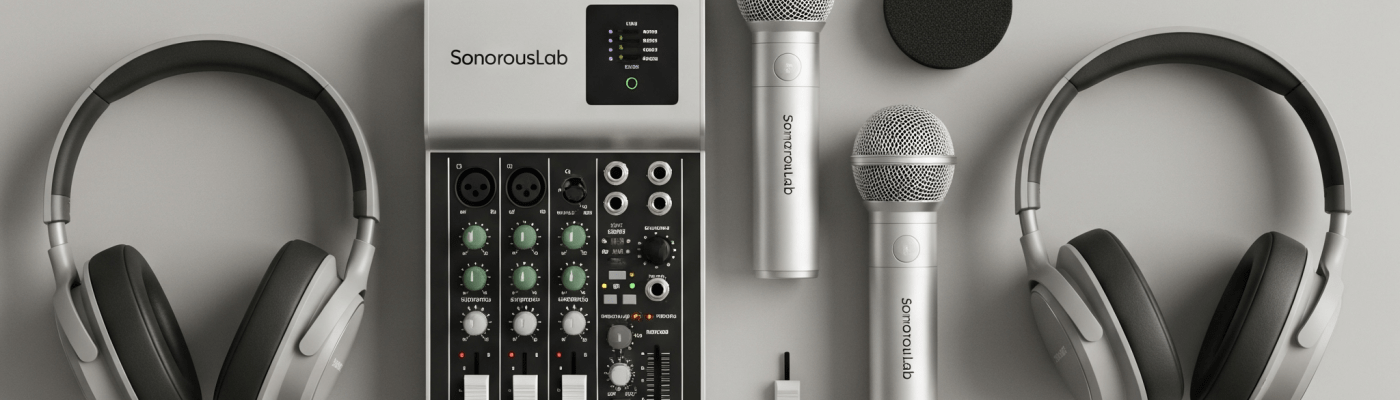
Ever dreamed of launching a podcast but felt overwhelmed by the technical gear? You’re not alone. Many creators believe you need a fortune to sound professional. The truth is that great audio is achievable at any price point. The secret isn’t buying the most expensive gear; it’s buying the right gear for your stage.
In this guide, we’ll walk you through four distinct budget levels. We will recommend the best podcast equipment. This will help you create content that captivates your audience.
The Foundation: Why Your Recording Space Matters Most
Before we talk about mics and mixers, remember this: your room is part of your studio. A noisy room with a great microphone will always sound worse than a quiet room with a decent microphone. Before you spend anything, try recording in a walk-in closet. You can also use a room with lots of soft furniture, carpets, and curtains. Minimizing echo (reverb) is the most effective free upgrade you can make.
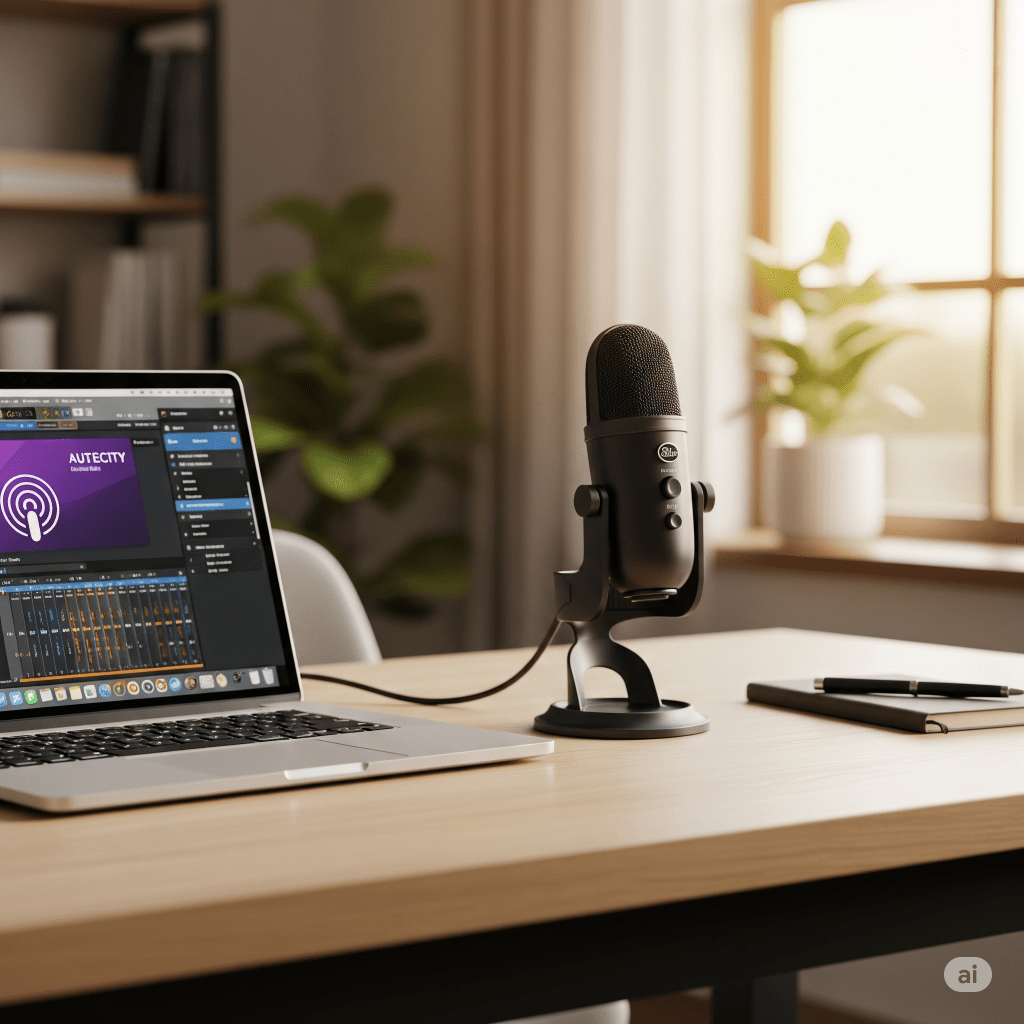
Tier 1: The Starter Kit (Under $100)
This is the “no excuses” setup. It’s perfect for beginners who want to dip their toes into podcasting without a significant financial commitment. The focus here is on a high-quality USB microphone that plugs directly into your computer.
“As an Amazon Associate, I earn from qualifying purchases”
USB Microphone: The Heart of Your Setup
- Why you need it: A USB mic includes all the necessary components. These include a microphone, preamp, and converter. They are combined in one device, which makes it incredibly simple to use.
- Recommendations:
- Samson Q2U: A fan favorite for a reason. It offers both USB and XLR connections, giving you an upgrade path for the future. Its dynamic capsule is great at rejecting room noise.
- Audio-Technica AT2020USB-X-USB: Very similar to the Q2U, this is another industry-standard starter microphone that delivers crisp, clear audio.
Accessories: The Essential Extras
- Pop Filter: It is a simple foam or mesh screen. It clips onto your mic to reduce harsh ‘p’ and ‘b’ sounds (plosives).
- Headphones: Use any wired headphones or earbuds you already own. The goal is to monitor your audio to ensure you’re not clipping or too quiet.
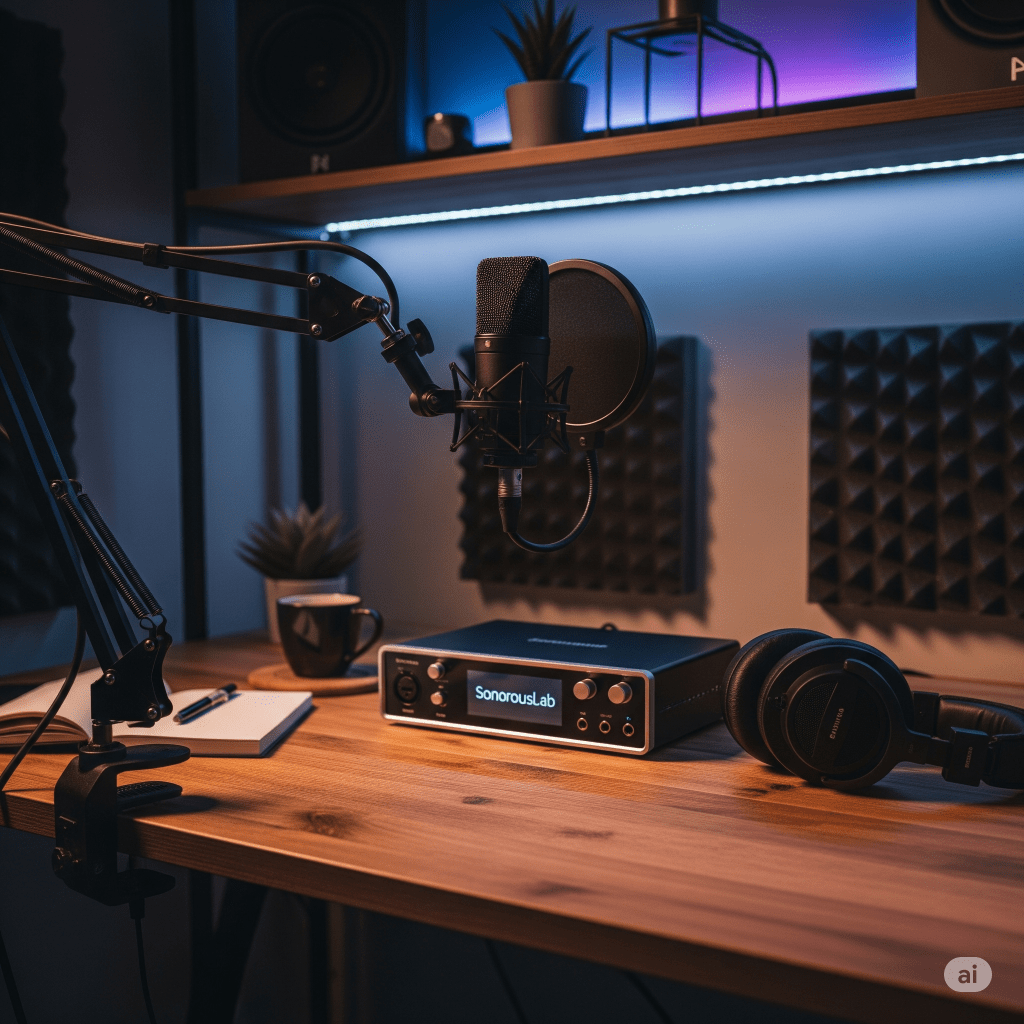
Tier 2: The Creator (Budget: $150 – $400)
You have published a few episodes. You are enjoying the process. You are ready for a noticeable leap in audio quality and workflow. This tier introduces the XLR connection, the standard for professional audio.
XLR Microphone: A Step Up in Quality
- Why you need it: XLR microphones separate the mic from the audio conversion process. This separation allows for higher-quality components. It also provides more flexibility.
- Recommendations:
- Rode PodMic: Specifically designed for speech, this dynamic XLR mic offers a broadcast-style sound at an incredible price. It’s built like a tank.
- Audio-Technica AT2020: A fantastic entry-level condenser microphone that captures rich detail, perfect for a treated room.
Audio Interface: The Bridge to Your Computer
- Why you need it: This box connects your XLR microphone to your computer via USB. It provides power to the mic (phantom power) and contains a better-quality preamp than a standard USB mic.
- Recommendation: Focusrite Scarlett Solo or 2i2. These are arguably the most popular interfaces for creators, known for their reliability and clean preamps.
Boom Arm: For Perfect Mic Placement
- Why you need it: A boom arm clamps to your desk and allows you to position the microphone perfectly for your voice, then move it out of the way when you’re done. This is a huge quality-of-life improvement.
- Recommendation: Rode PSA1 or a generic, affordable desk-mounted boom arm.
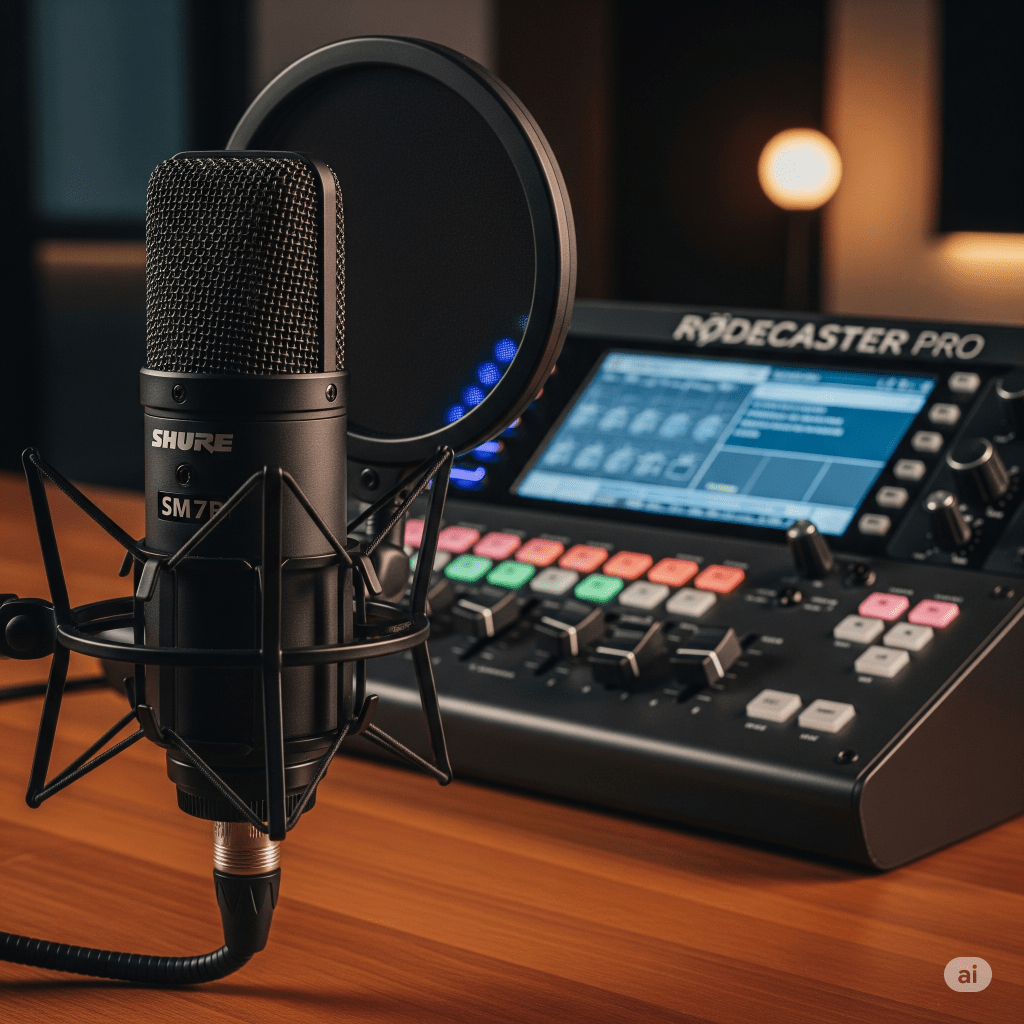
Tier 3: The Professional (Budget: $500 – $1,500)
You’re taking your podcast seriously. You have a growing audience, and you want your audio to compete with the top shows in your category. This setup is about achieving that polished, professional, broadcast-quality sound.
Professional XLR Microphone: The Industry Standard
- Why you need it: These microphones are legendary for a reason. They provide warmth, clarity, and superior rejection of unwanted background noise.
- Recommendations:
- Shure SM7B: The king of podcasting microphones. Used by everyone from top podcasters to professional musicians. It’s a dynamic mic that requires a lot of gain, so you’ll need a powerful preamp.
- Electro-Voice RE20: Another broadcast legend, famous for its smooth, natural tone and resistance to the proximity effect (the boomy bass sound when you get too close to a mic).
Advanced Audio Interface / Mixer
- Why you need it: At this level, you need an interface with exceptionally clean, powerful preamps to drive mics like the SM7B, or a mixer for more complex multi-person setups.
- Recommendations:
- RØDECaster Pro II : The ultimate all-in-one production solution for podcasting, streaming, and content creation. It functions as an interface, mixer, recorder, and effects unit, all in one device. Its high-gain, ultra-low-noise Revolution Preamps™ are powerful enough for any professional microphone. You don’t need a booster with it. This makes it a complete studio hub.
- Universal Audio Apollo Solo: A high-end interface known for its pristine audio conversion and ability to run studio-quality plugins in real-time.
Studio Headphones & Acoustic Treatment
- Headphones: Upgrade to closed-back studio monitors like the Beyerdynamic DT1 770 PRO for detailed and accurate audio monitoring.
- Acoustic Treatment: Move beyond blankets. Invest in proper acoustic panels. They absorb reflections. Use bass traps to control low-frequency buildup in the corners of your room.
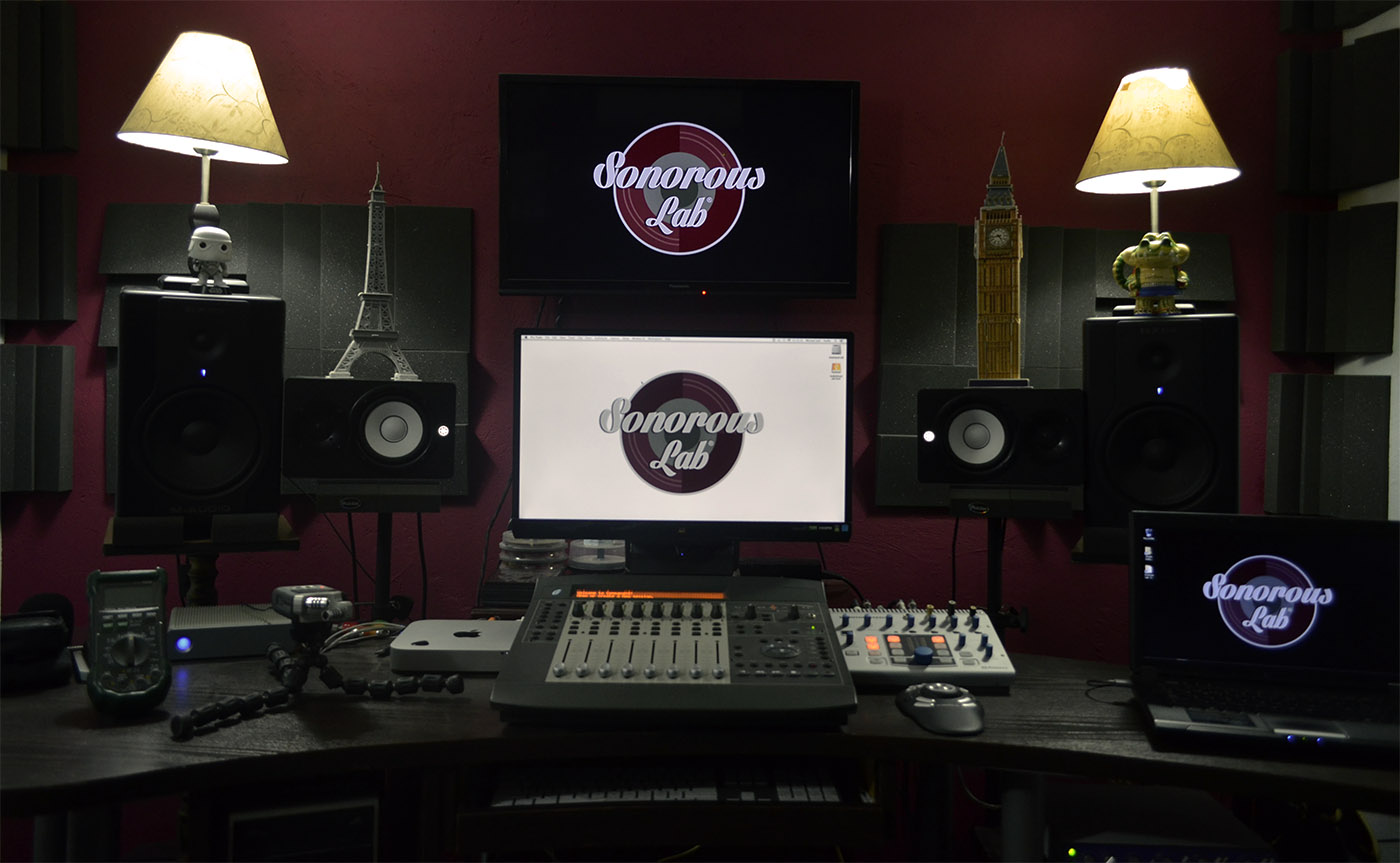
Tier 4: The Dream Studio ($2,000+)
This is for the dedicated professional, the podcast network, or the creator for whom audio is an art form. The gear in this tier represents the pinnacle of sound recording. You are chasing that final 1% of audio perfection.
Elite Broadcast Microphones
- Recommendations:Neumann U87 Ai or Neumann TLM 103. These are high-end condenser microphones found in the world’s best recording studios, delivering unparalleled clarity and detail.
High-End Interface & Preamps
- Recommendations: Universal Audio Apollo Twin X or Avid Carbon. These interfaces offer elite-level audio conversion and processing power.
Full Studio Treatment
- This involves professionally designing your recording space with soundproofing to block outside noise. You should use a combination of absorption, diffusion, and bass trapping. This creates a perfectly controlled acoustic environment.
Your Sound Is Your Brand
No matter where you start, the goal is always the same: create clear, enjoyable audio that lets your message shine. Don’t let your budget stop you. Start with what you can, focus on creating great content, and upgrade your gear as your show grows. The journey from a simple USB mic to a professional studio is part of the creative process.
Ready to start your journey? and Build Your Studio?
Choosing the right equipment is a huge step toward creating a professional sound that captivates your audience. While this guide provides a clear roadmap, we understand that every creator’s voice, room, and goals are unique. If you’re looking at all these options and want to ensure you make the perfect investment for your specific needs, we can help.
Don’t waste time on endless research or risk buying the wrong gear. Let an expert guide you.
If you need personalized consulting to build a custom equipment list tailored just for you, schedule a one-on-one call with SonorousLab today. Let’s build your dream studio, together.
“As an Amazon Associate, I earn from qualifying purchases”
Keywords: Podcasting equipment, podcast gear recommendations, budget-friendly podcast setup, professional podcasting gear, best podcast microphone, podcast starter kit, XLR vs USB microphone, Shure SM7B setup, RØDECaster Pro II, Focusrite Scarlett 2i2.
Hashtags: #Podcasting #PodcastGear #PodcastingForBeginners #PodcastSetup #AudioEquipment #ContentCreator #HomeStudio #ShureSM7B #RodecasterProII

